

I've been hesitant to try my hand at painting furniture. My fear was that my laziness and inexperience would get the best of me and I'd end up with a splotchy, messy, half-painted piece of junk. Well, emboldened by the many encouraging Pinterest posts that promised me painting furniture was "easy as pie" and "fool-proof", I decided to take a gamble on transforming an old clunky dark wood/laminate server into a bright, white buffet for the dining room. Here's how it went.
 |
| Before: although this photo doesn't really show the full (ugliness of the) buffet. |
I used the blog "Young House Love's" posts on painting furniture to guide my adventure. And now I can confidently say that the most important thing you will do in painting your furniture is buying the right products. You might be tempted, as I was, to go for the cheaper stuff. Don't do it. It'll take way more coats to get the same coverage and durability. At Young House Love's recommendation, I bought Zinsser's oil-based cover stain primer and a quality semi-gloss interior latex paint and they worked great.


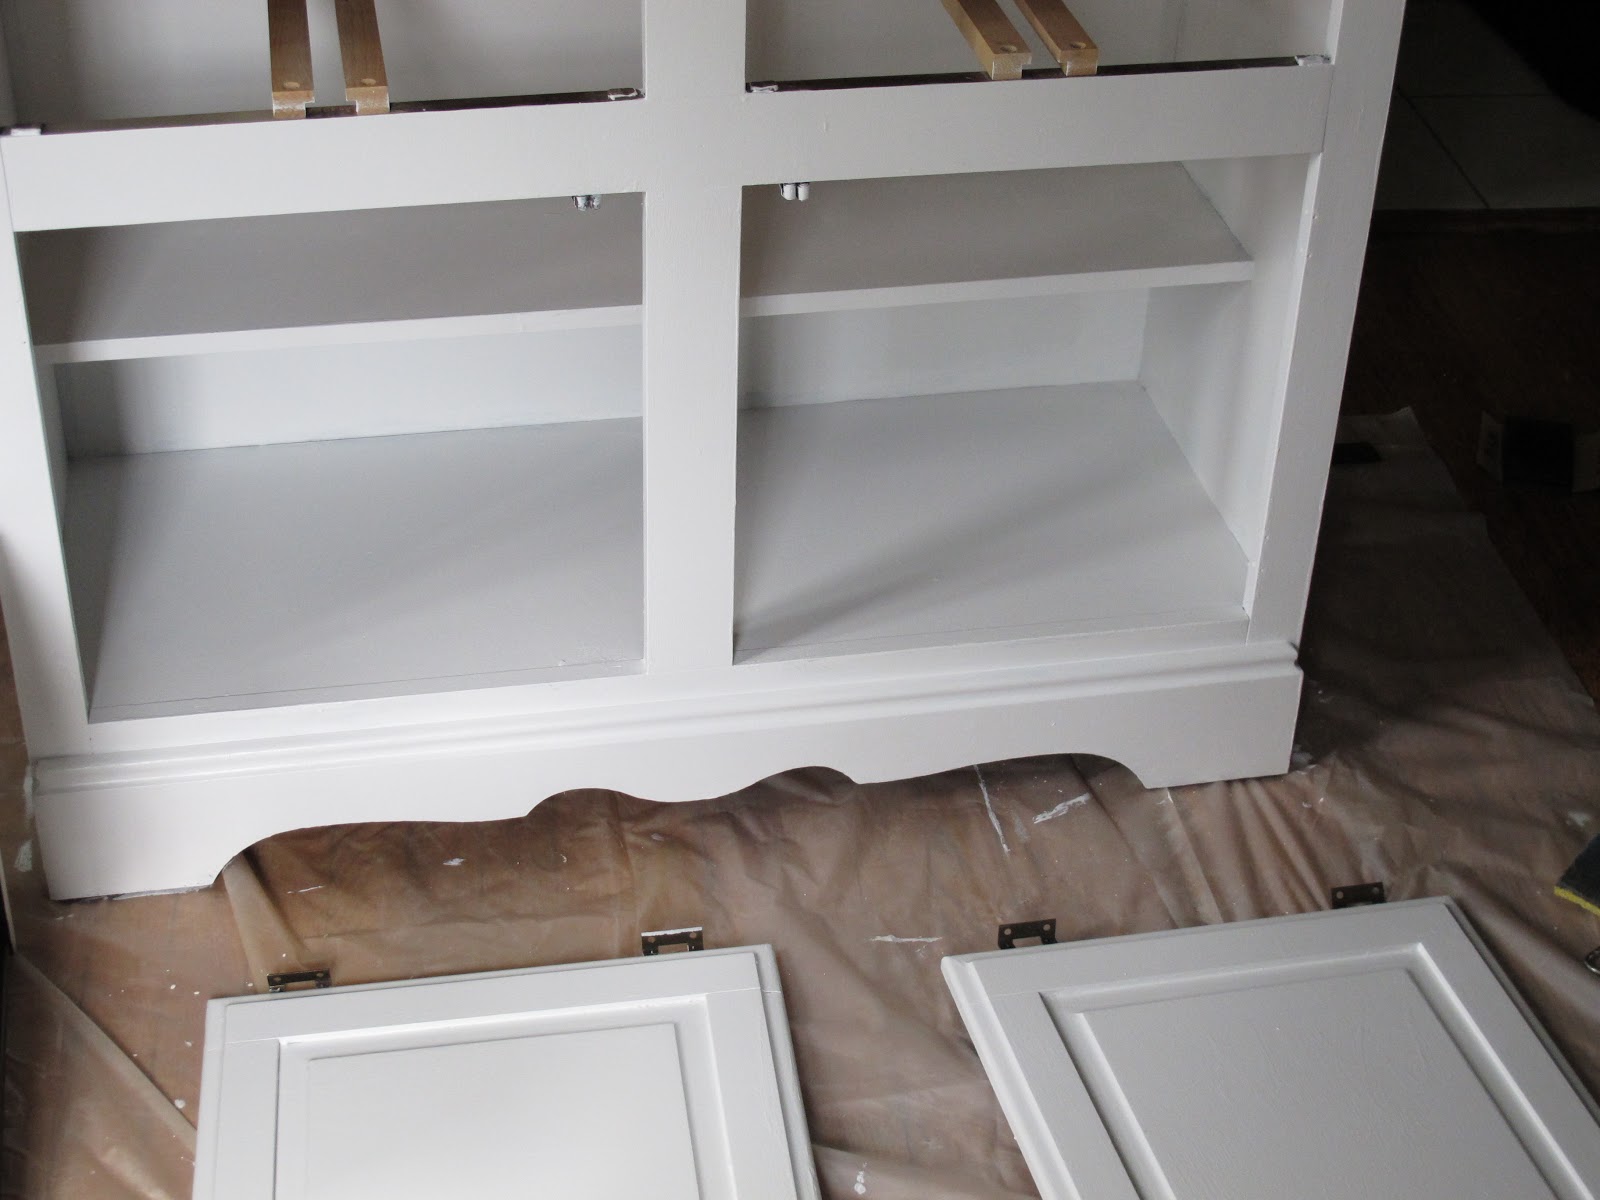
After removing the doors and drawers and taking off the hardware, I wiped everything down and then started with a couple coats of the primer. And no: I didn't sand. That's why the Zinsser's is so great: no sanding required to get great coverage. Although I will say oil-based is a b*tch to get off skin and paint brushes. You'll definitely need paint thinner.
I used a brush for the nooks and crannies but a small 6-inch foam roller for the rest. As you'll see below, after the first coat I was worried. It was splotchy and transparent and I worried that the whole project was ruined. But the second coat worked wonders. Stay the course, friends.
 |
| After one coat of primer: Not looking too great. |
 |
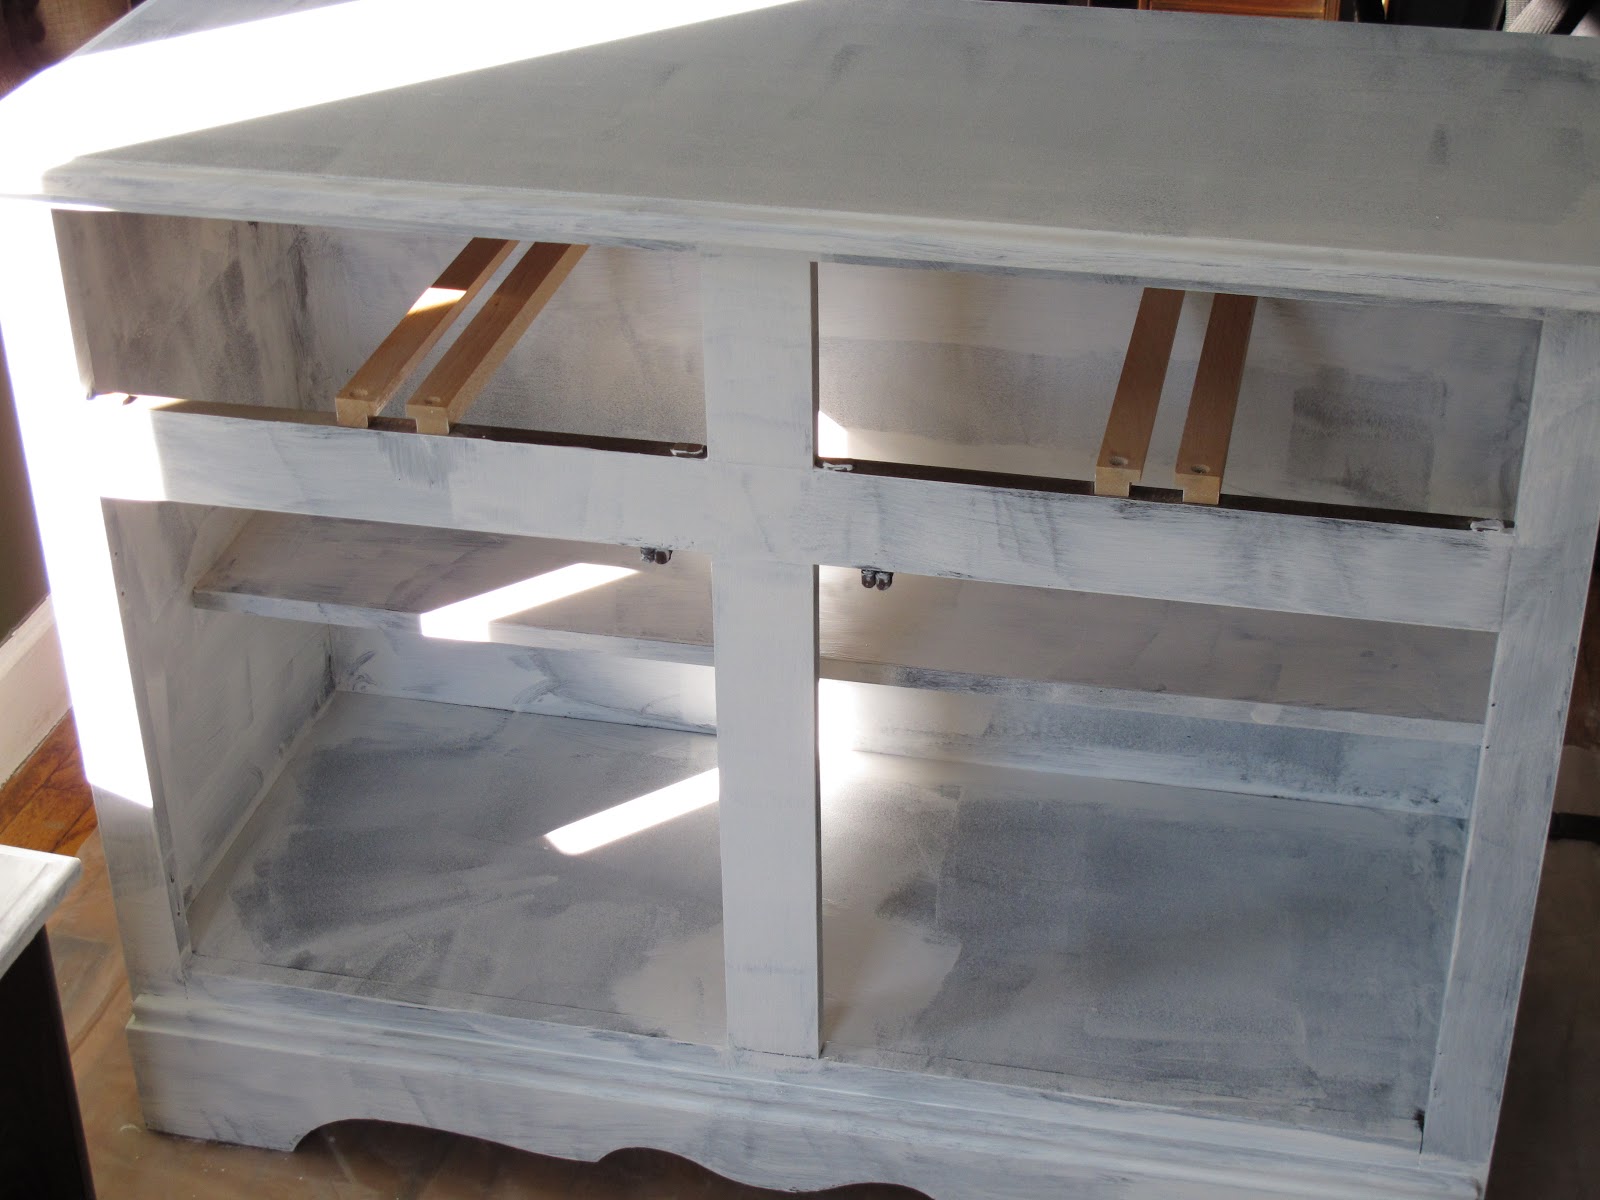
| After two coats of primer: much better. |

In anticipation of all the bumps scrapes this guy will get as a server and buffet, I decided to finish the whole piece with two coats of a clear protective finish. I used Minwax Water-Based Polycrylic Protective Finish, rolling it on with the small foam roller. I added four glass knobs from Home Depot and called it a day.
All in all, the project took about $55 and 8 hours over two days to complete, and I'm pretty pleased with the result. It really brightens up an otherwise dark corner of the dining room.

In addition to the new paint job, this little guy also got a some new accessories by way of three antique mason jars and an old cheese box, snagged for $10 total at an estate sale. Also, I pruned the rose bushes out front for winter giving the jars the perfect finishing touch.


Speaking of fun cheap antiquey finds, look at what my husband and I snagged at a thrift store this weekend. They're waiting to be transformed for a fun Christmas project, but for now they're keeping our hearth company. Anyone up for learning some histology?
I enjoy watching your house get even cuter one step at a time!
ReplyDeleteThanks Jen! The encouragement of friends sure does help :)
ReplyDelete